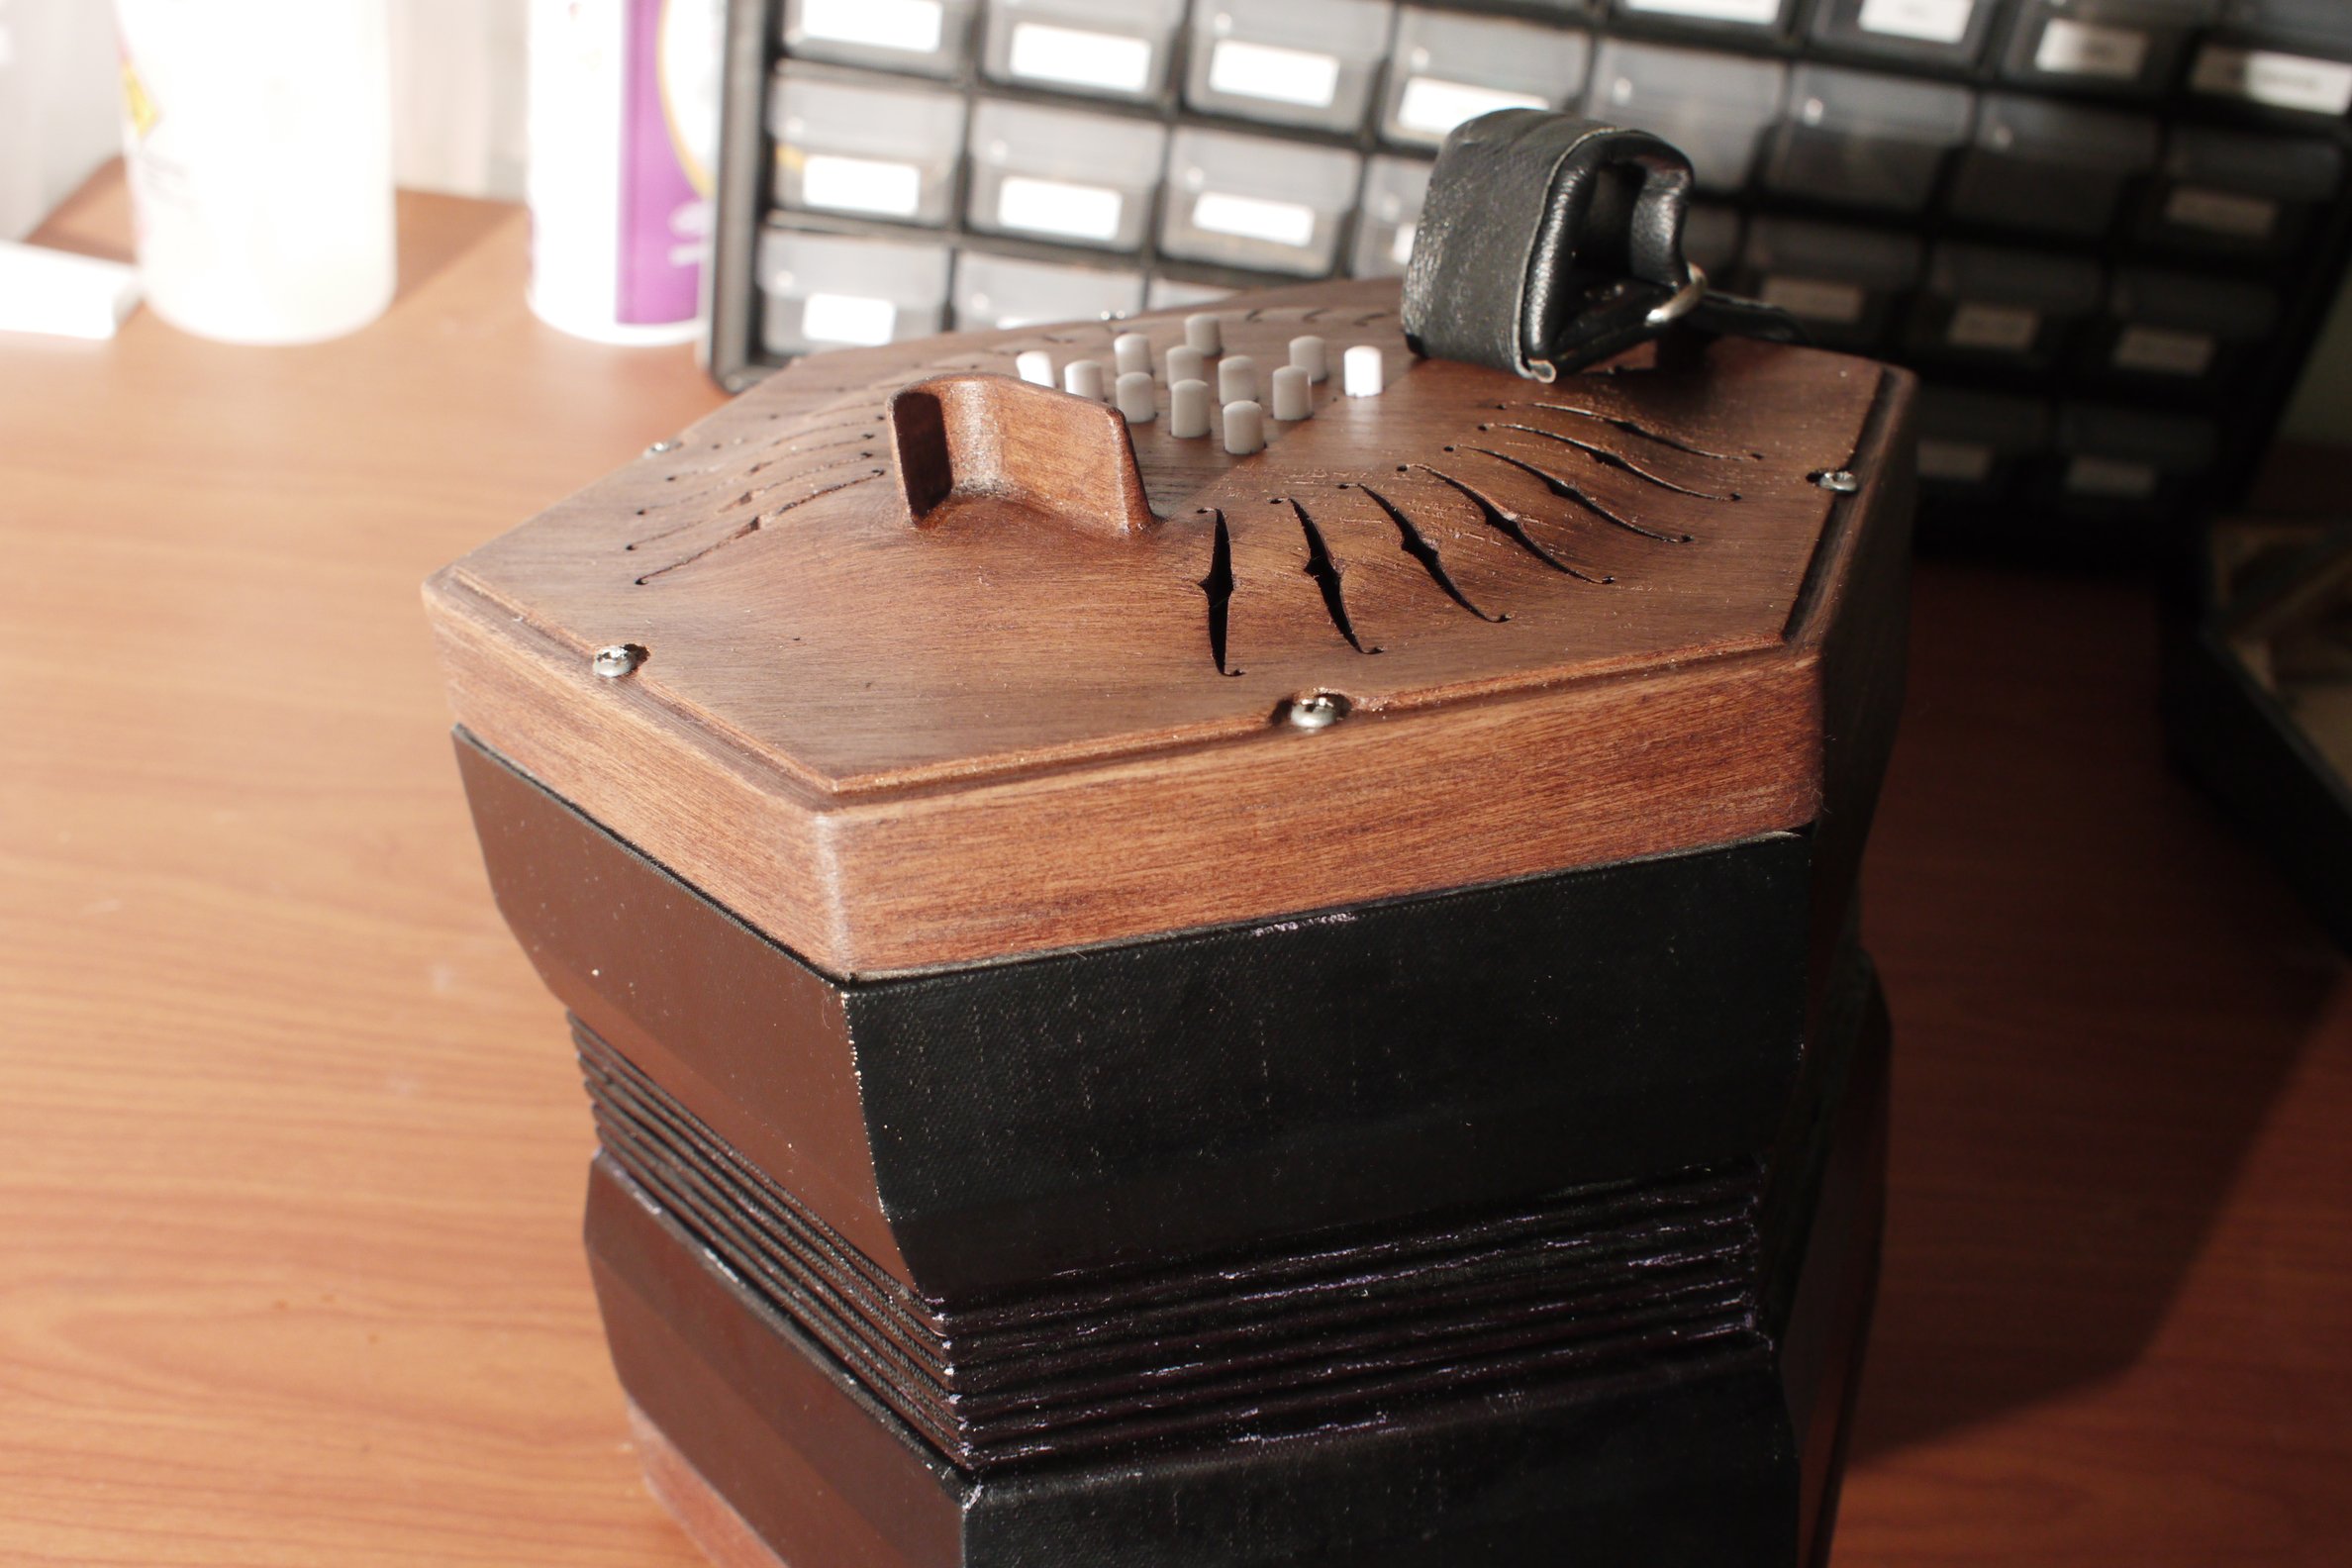
3D Printing Wood
The end-piece on this concertina is Hatchbox Wood-Filled PLA. After printing it was sanded, stained, and varnished. Scroll down for my process:
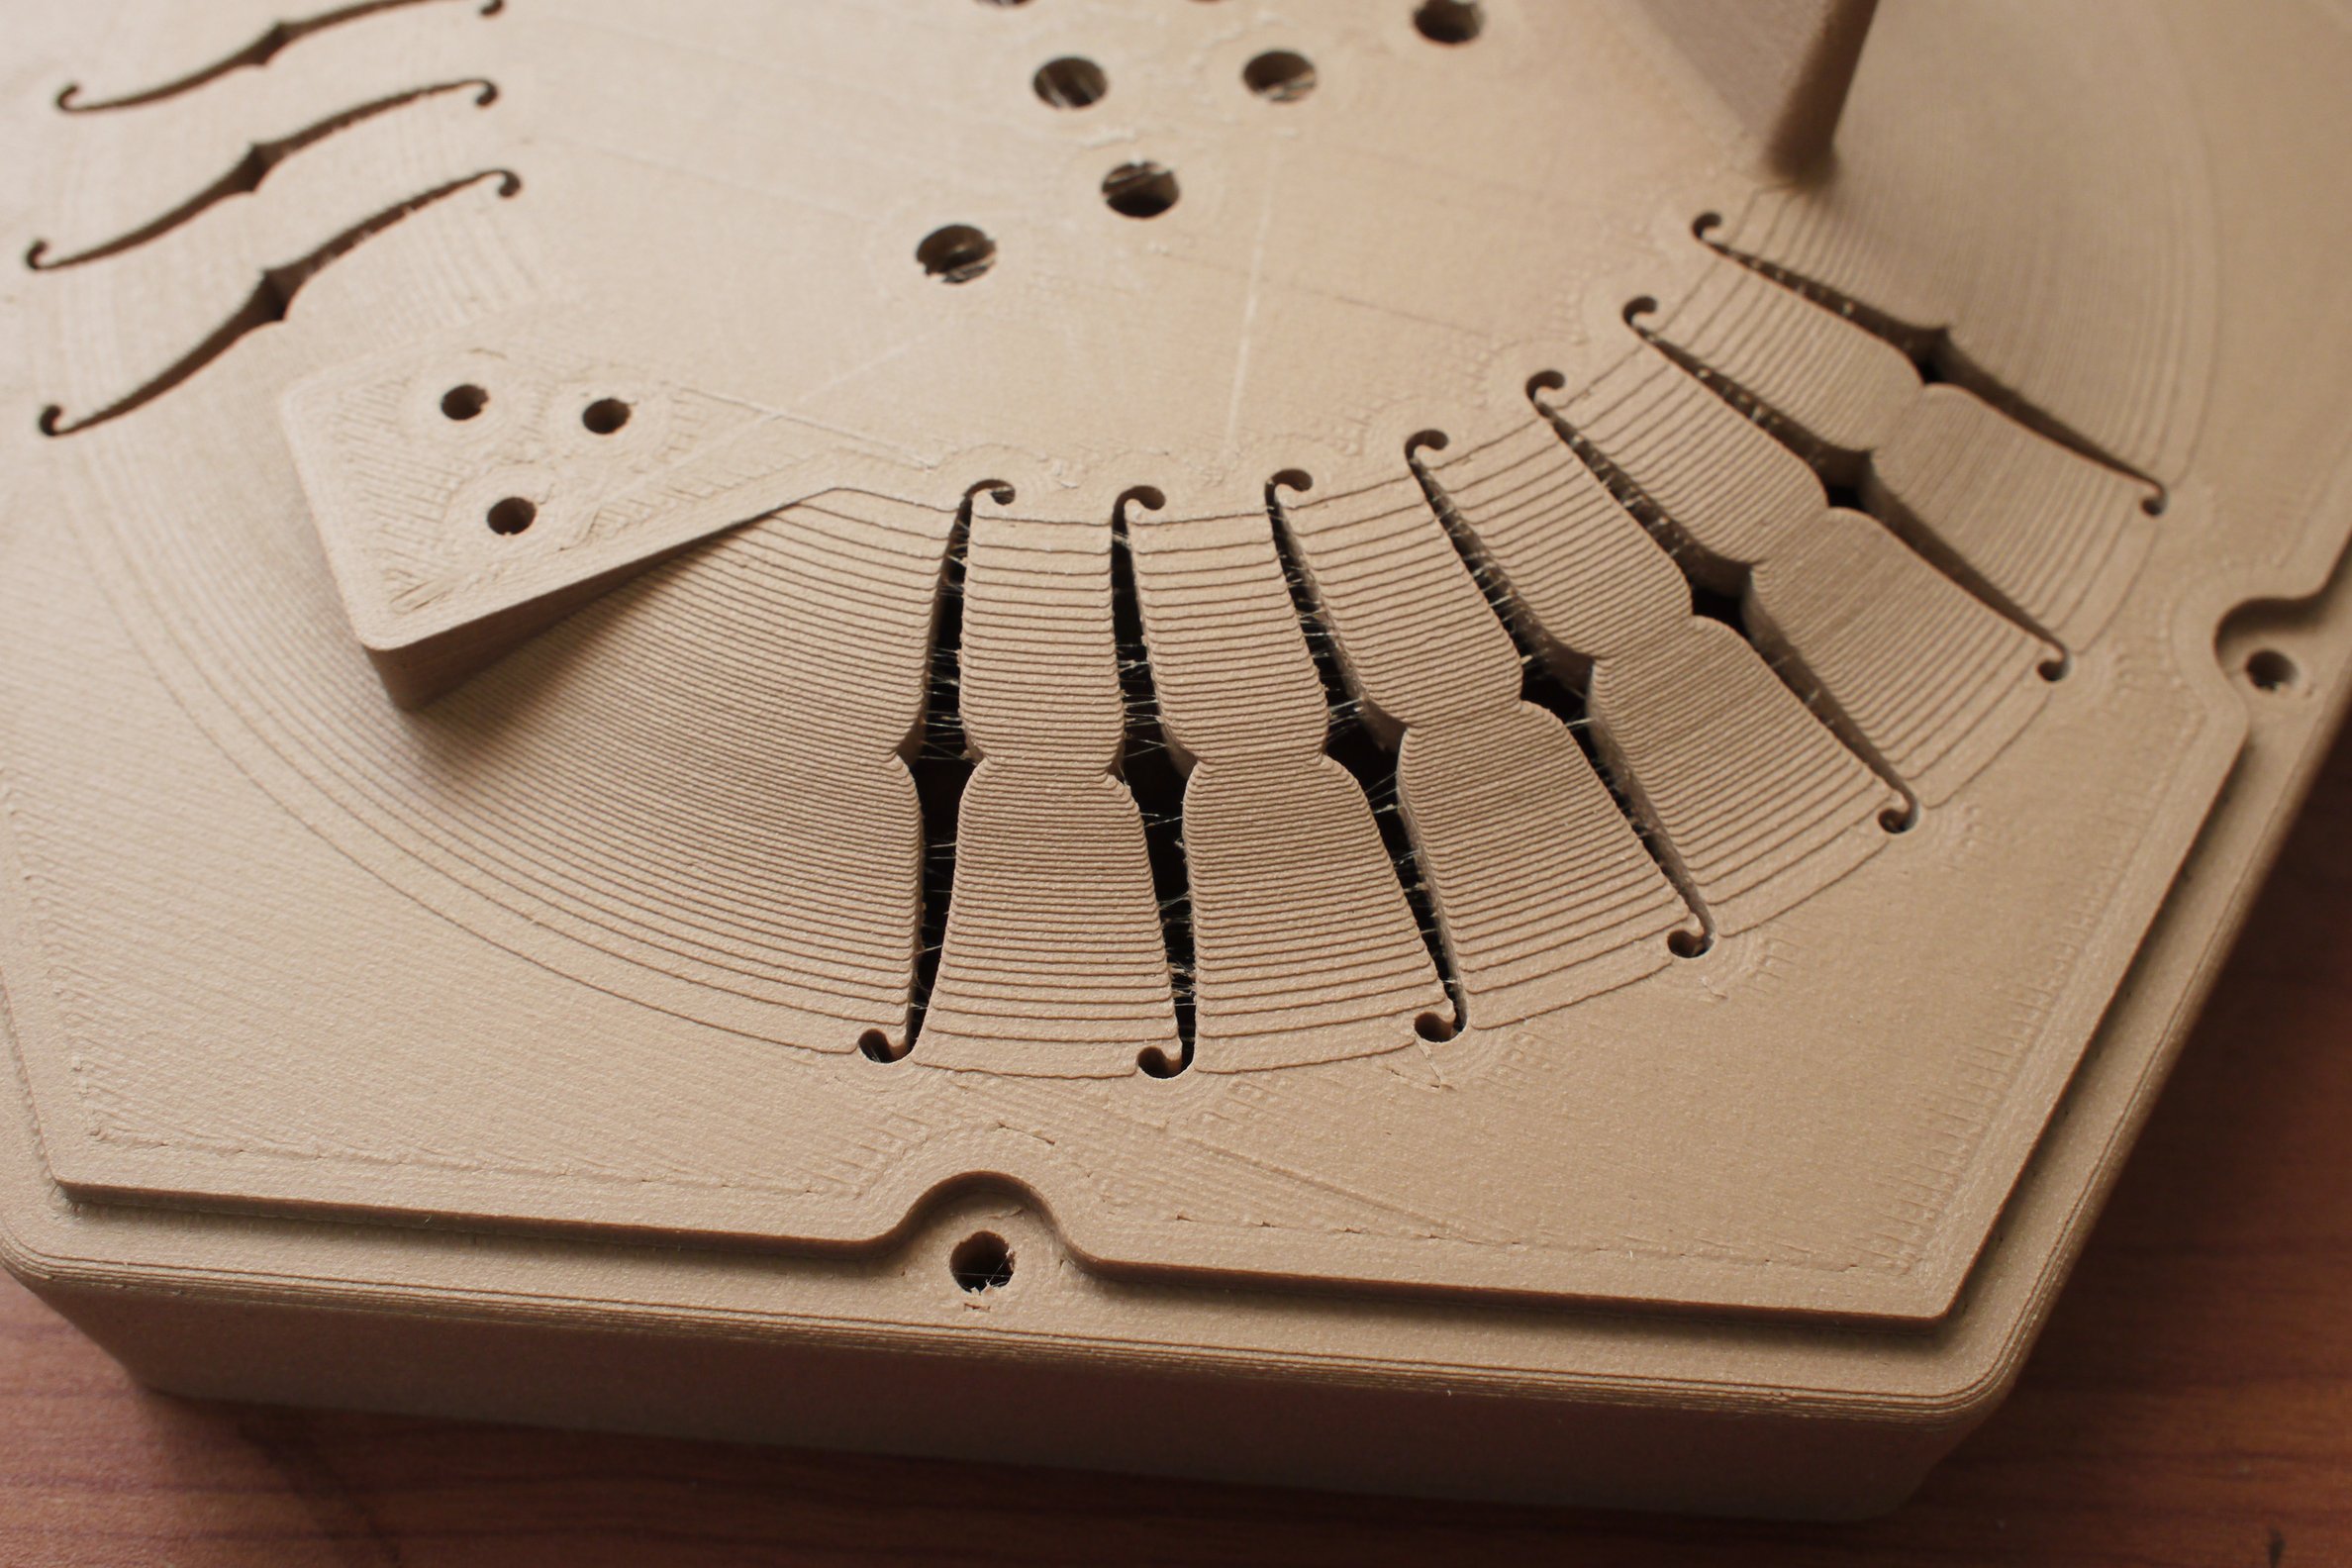
The piece fresh out of the printer doesn't look like wood at all:
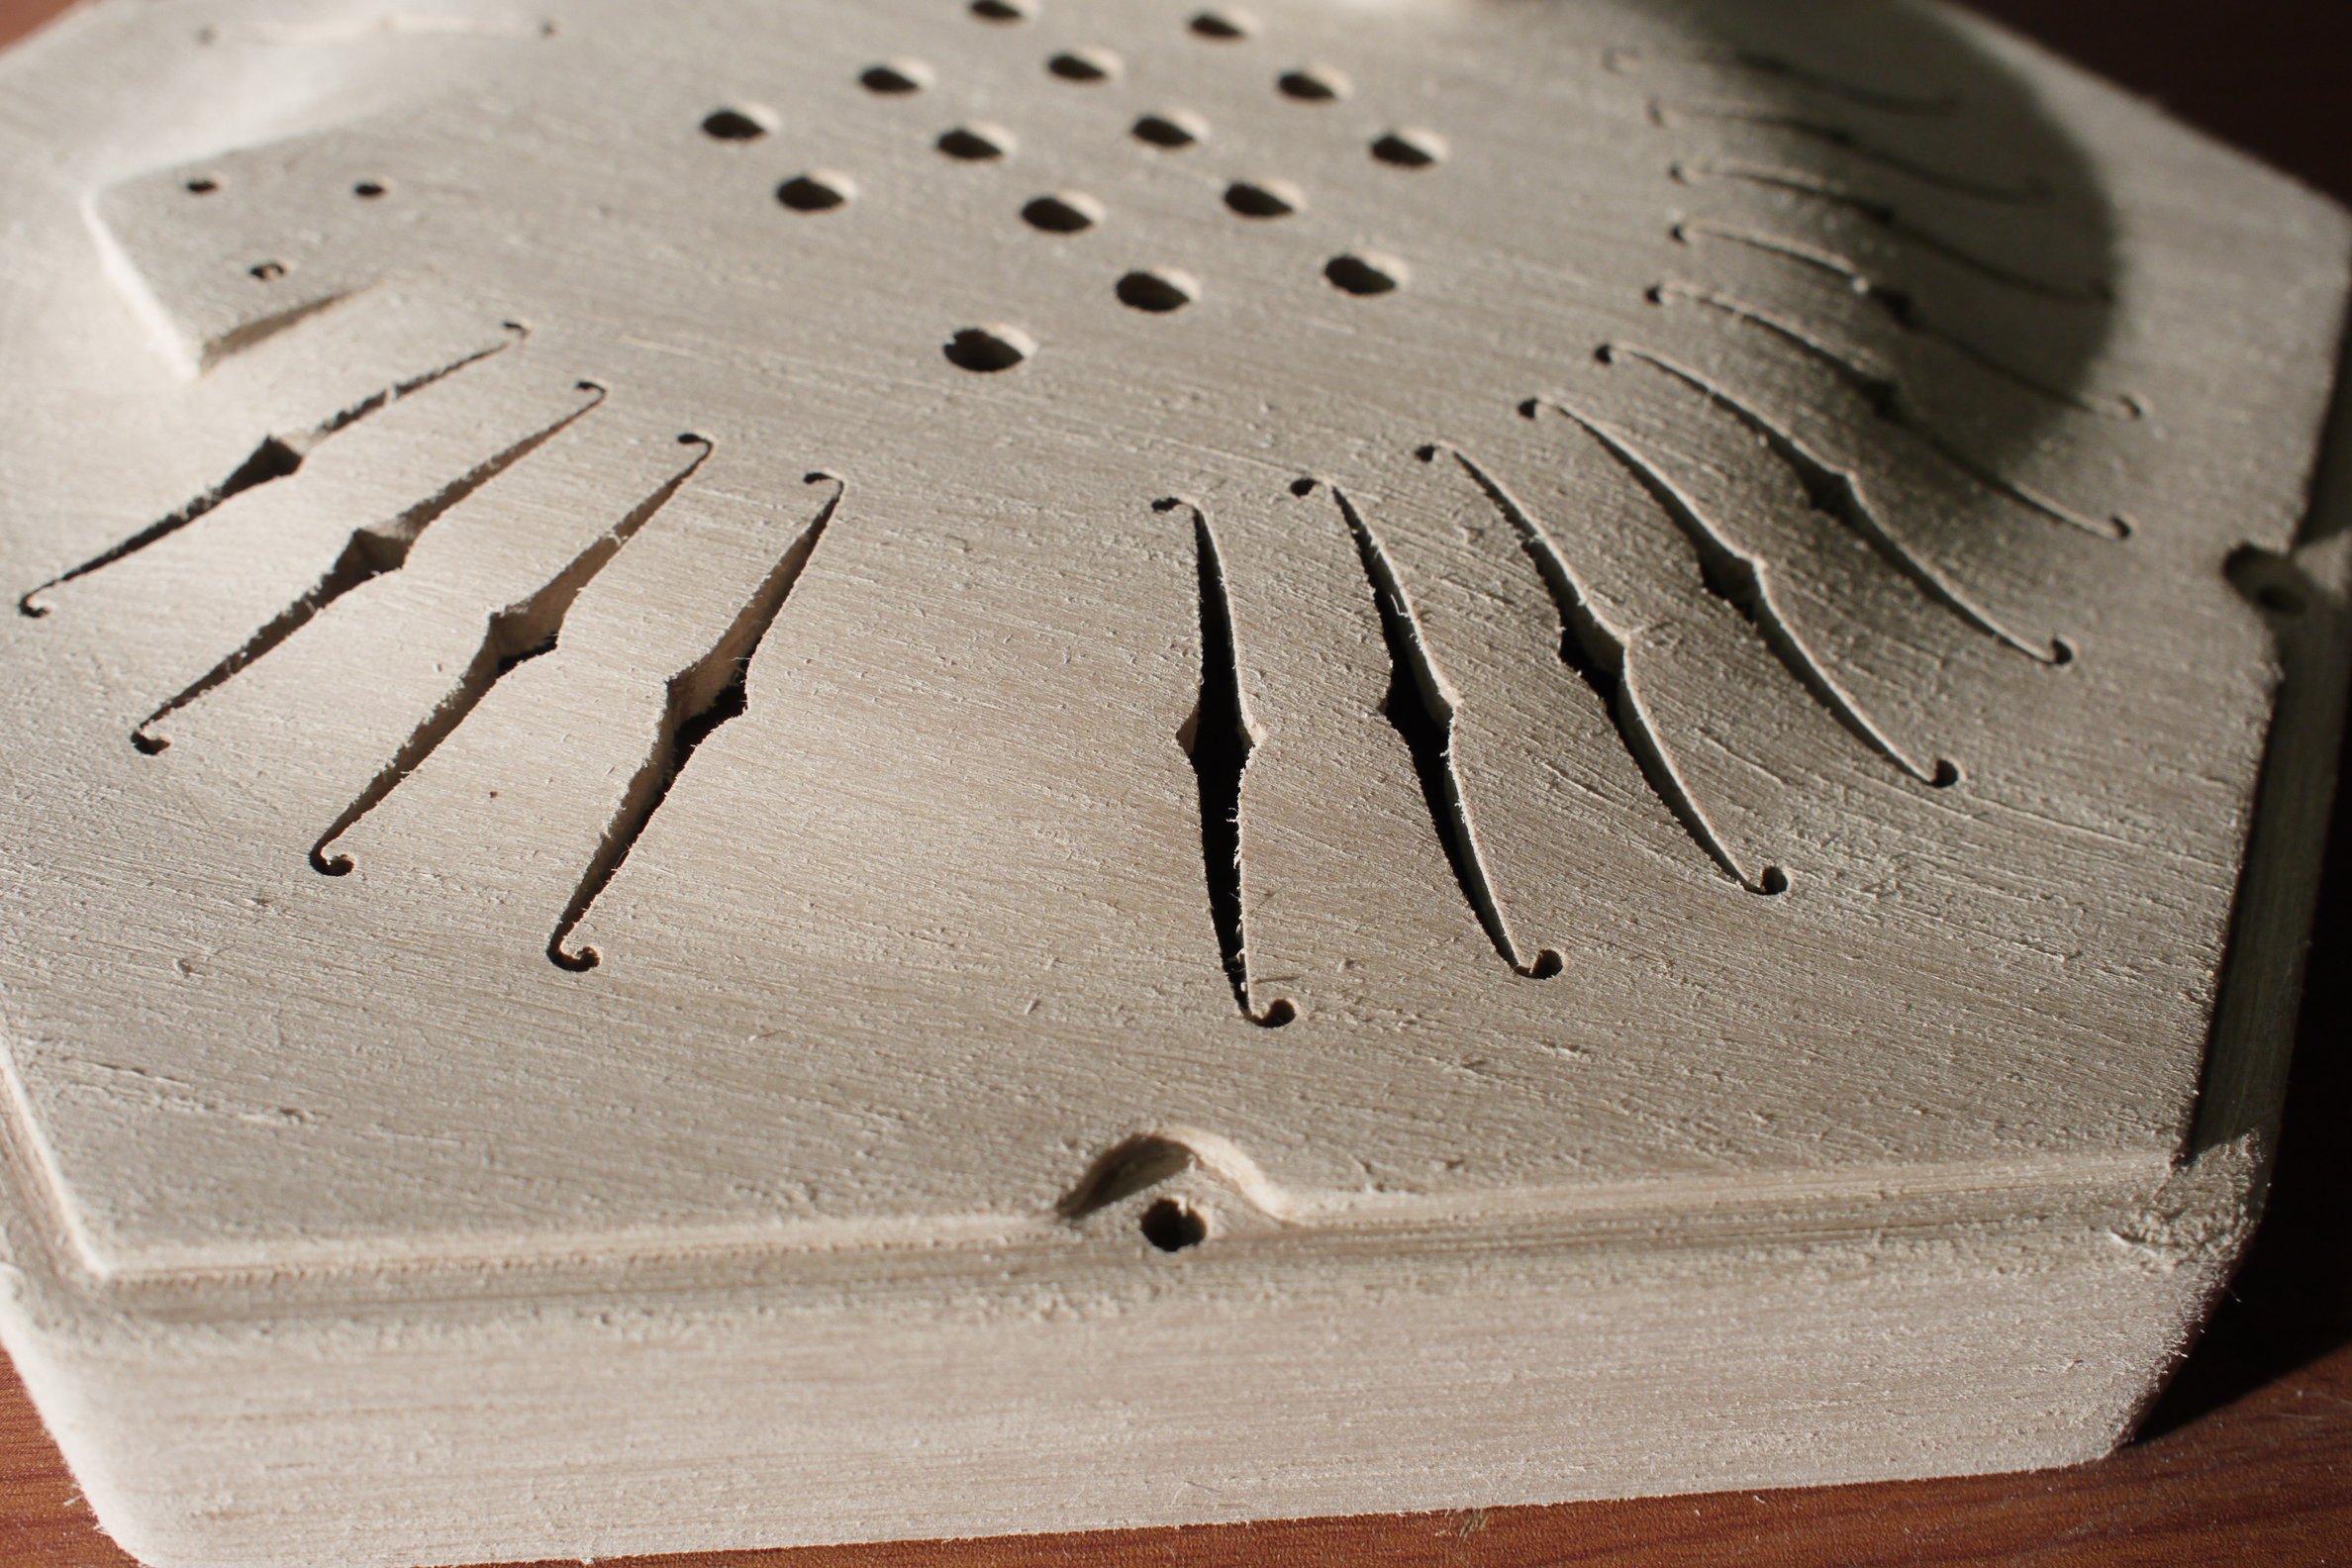
I use 60-grit sandpaper to completely remove the printed surface finish. 60-grit might seem excessively course but I feel the results are better this way, in part because one must be sure to completely remove the natural finish. Also, the deep gouges left by the course grit seem to more closely match natural wood grain.
The sandpaper is what leaves the wood-like grain, so it's important to sand in one direction only. In this case it was much easier to sand the perimeter wall, as I was able to take advantage of the printed layer lines. In hindsight, it might be better to print something like this on-edge to take advantage of this effect where it most matters. In the end, even with all the sanding, the perimeter walls were most convincingly wooden.
Unfortunately I forgot to take pictures after staining and before varnishing, but the stain was quite dark. I also forgot whether I used spar varnish or polyurethane, and whether or not it was thinned. On another subsequent project (not pictured here) I used shellac for a very thick finish, and that worked well too.
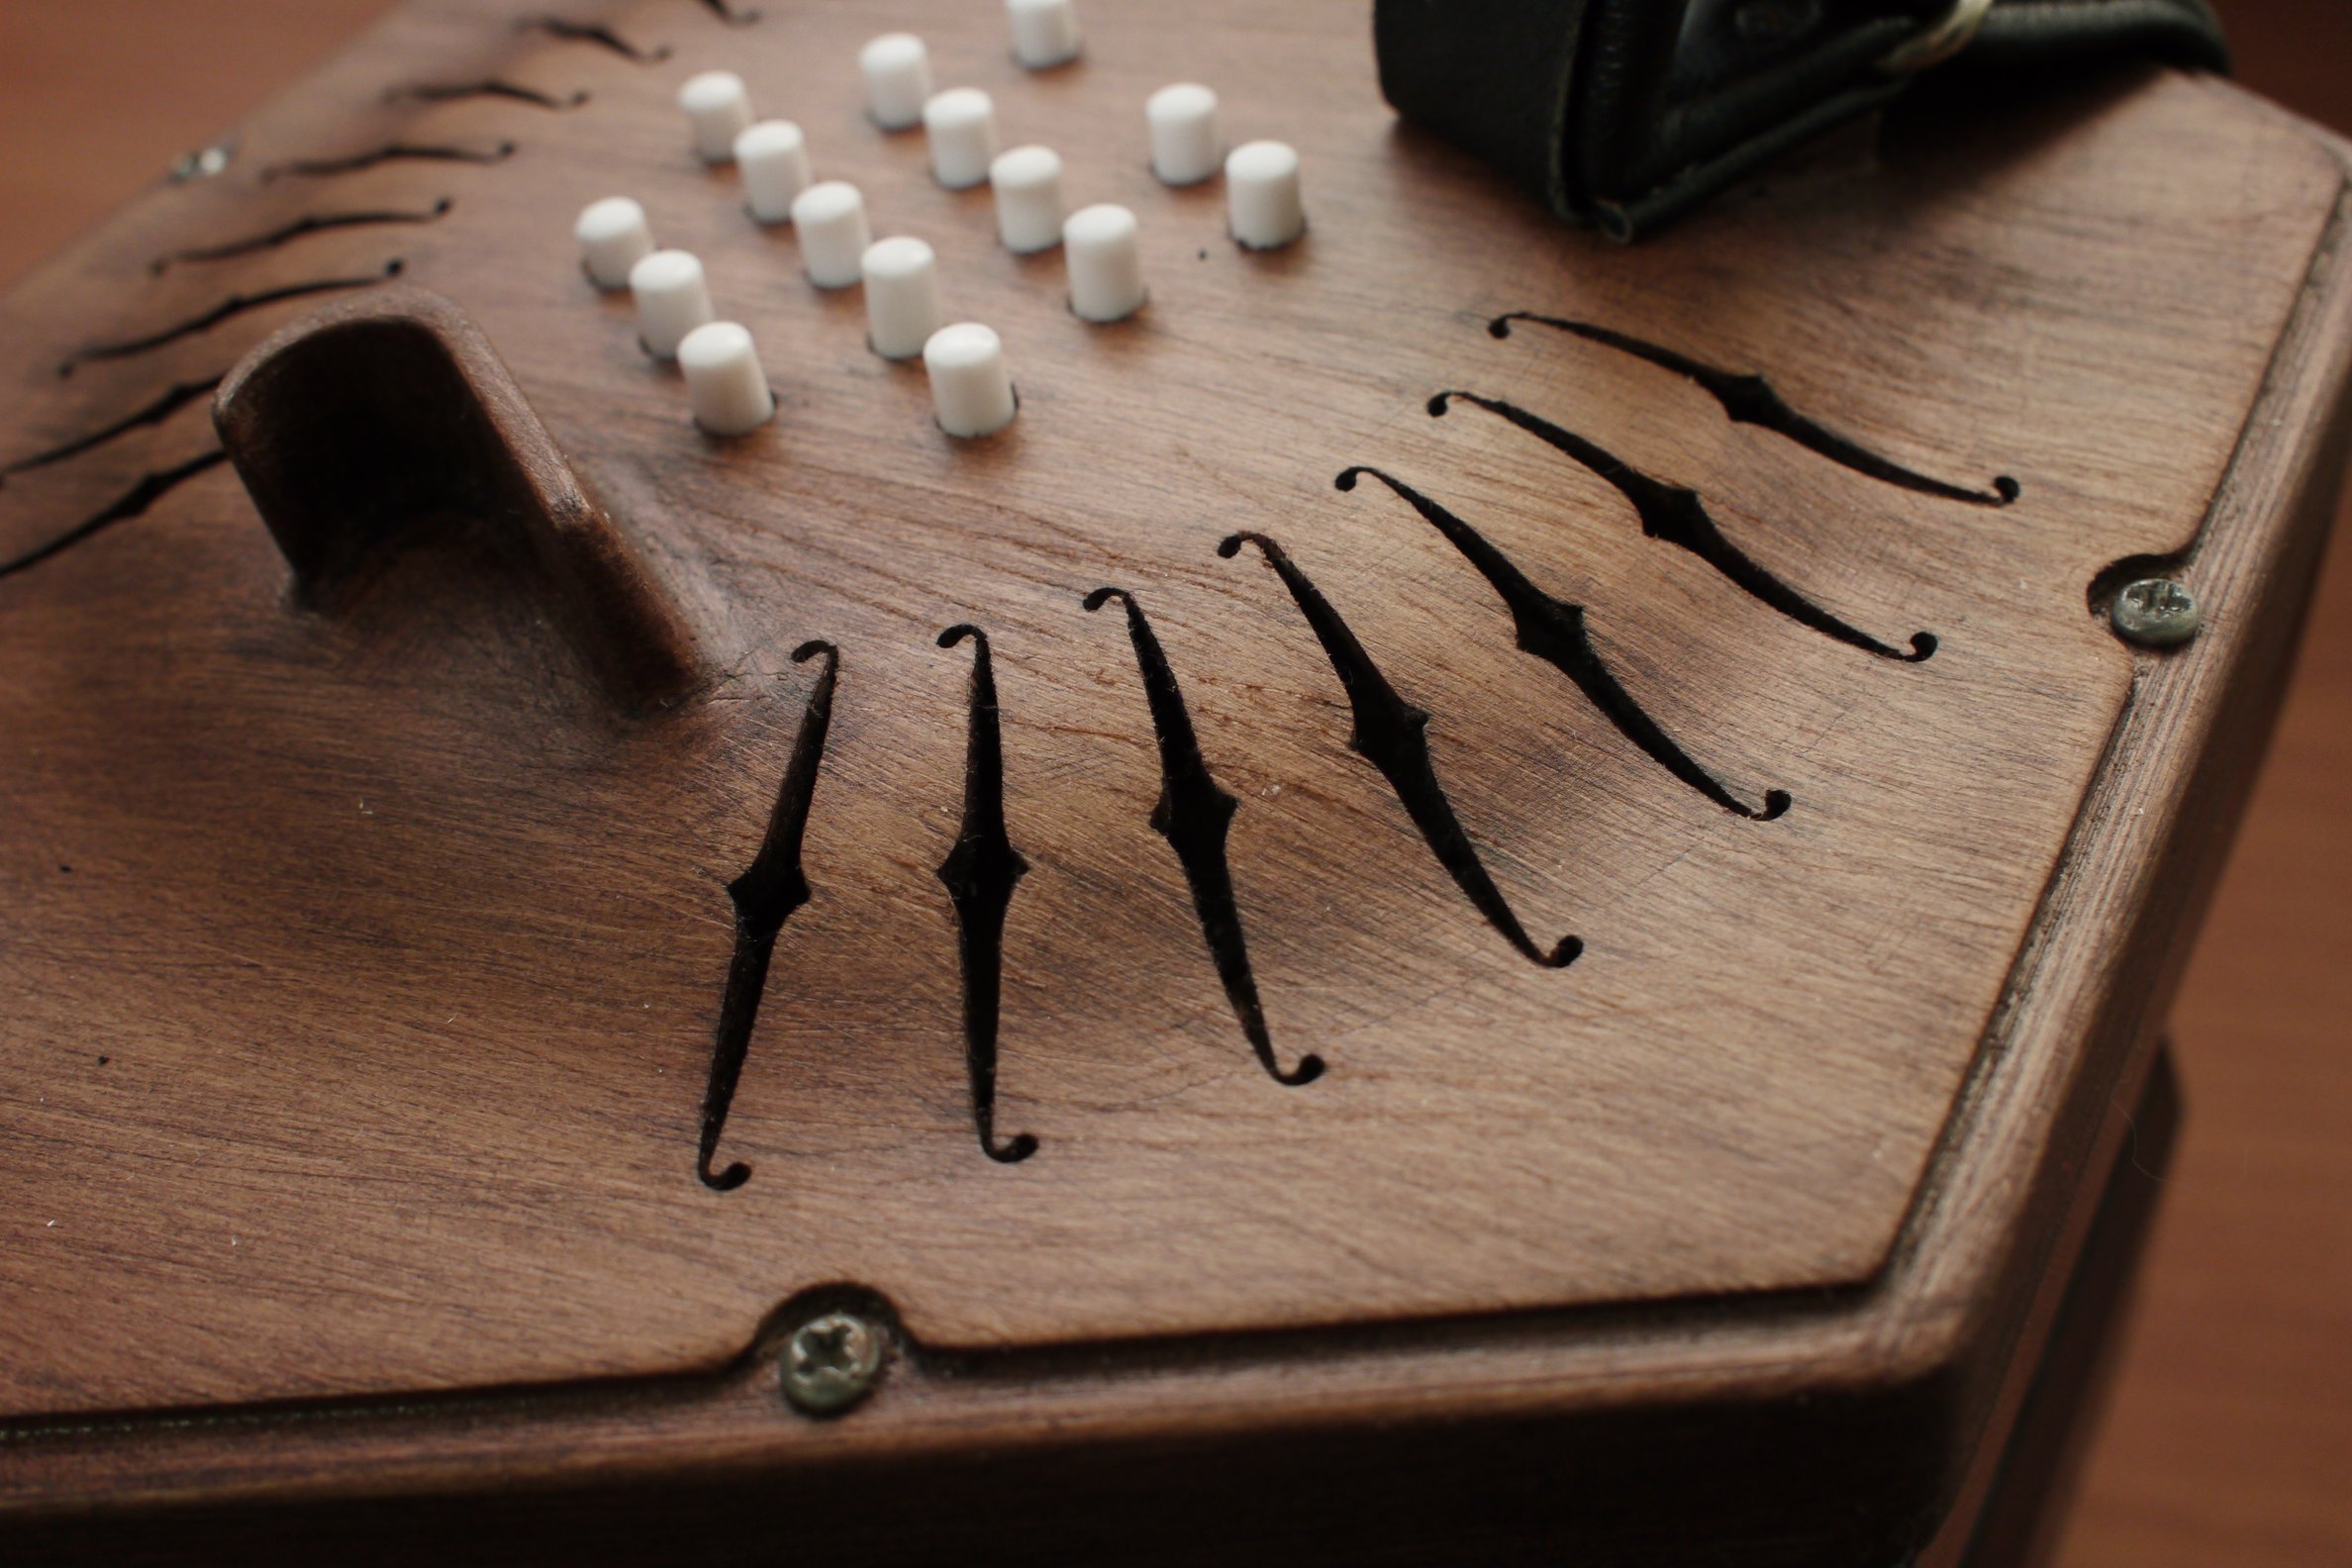
After finishing, note how good the appearance is along the outer perimeter here:
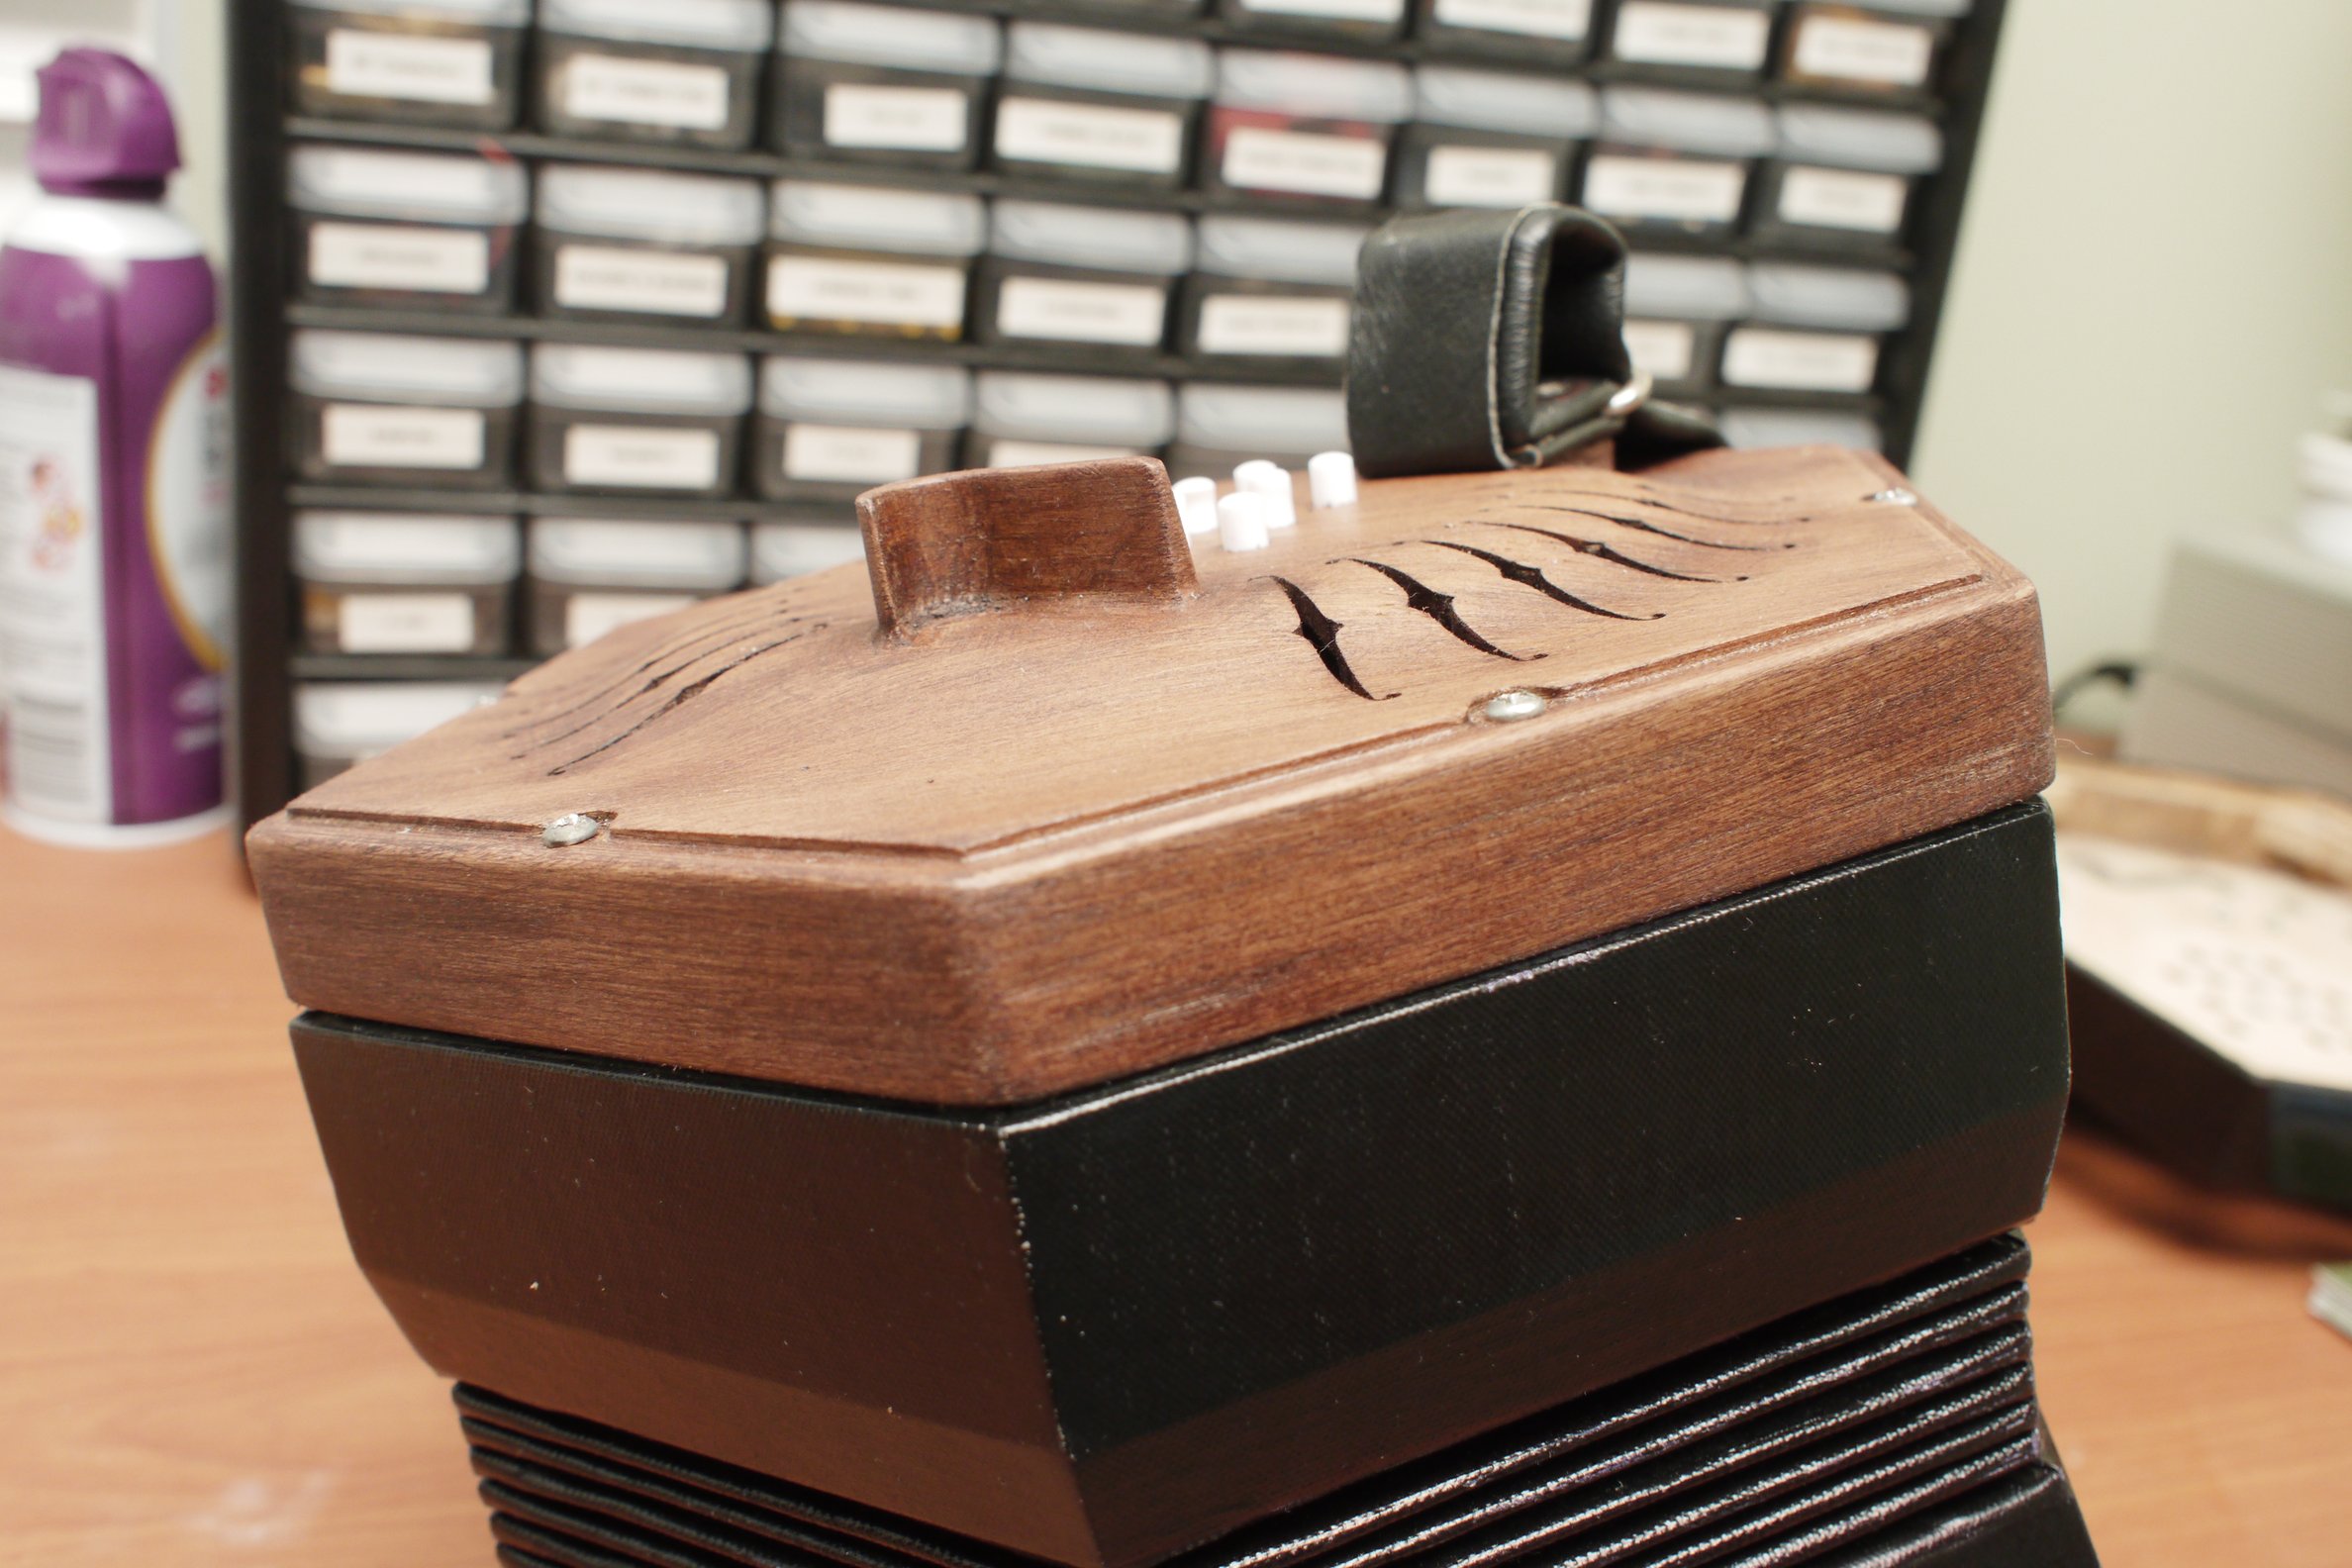
It's also good on top, but it's a bit of a giveaway that the grain isn't natural by the way the sanding marks aren't always parallel. The varnish doesn't appear to have a shine here, but that's due to a quirk of the lighting in the photo: